A calm, step-by-step plan for storm damage to your roof: stay safe, document everything, call your insurer, get the roof protected, understand the costs and hire a trustworthy roofer.
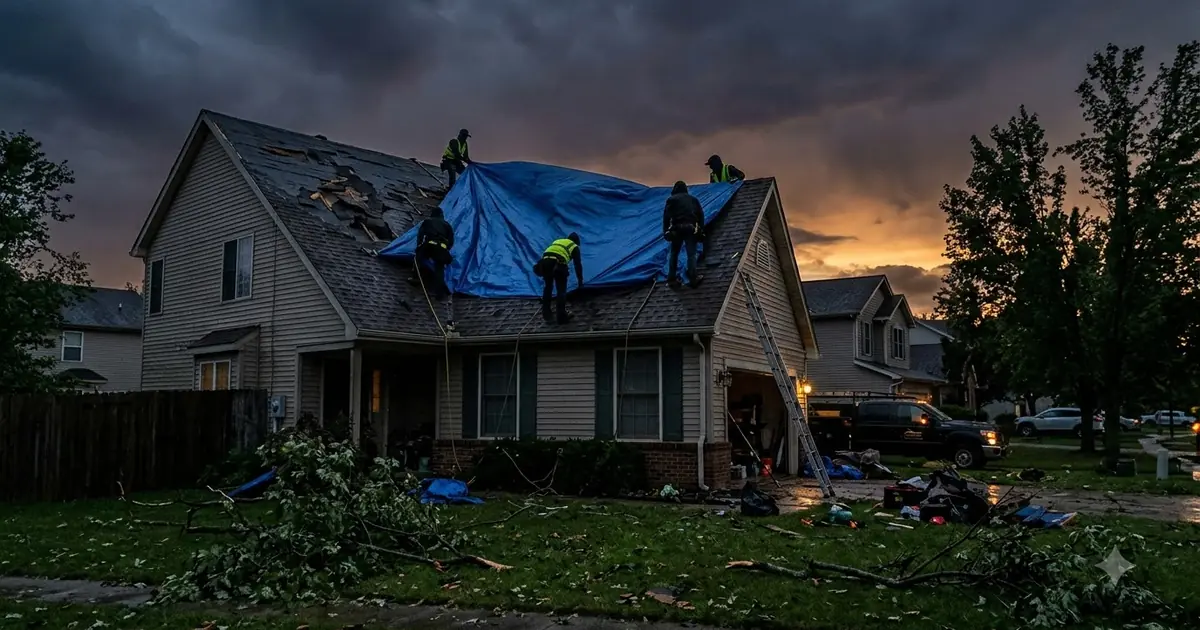
In the first 24 hours after storm damage: (1) put safety first, staying away from power lines, gas and sagging ceilings; (2) photograph the damage from the ground; (3) call your insurer and a licensed emergency roofer; (4) get the roof tarped or boarded up and limit water inside; (5) keep all receipts, and avoid signing contracts under pressure. Emergency tarping typically costs roughly $300 to $700 (average near $450).
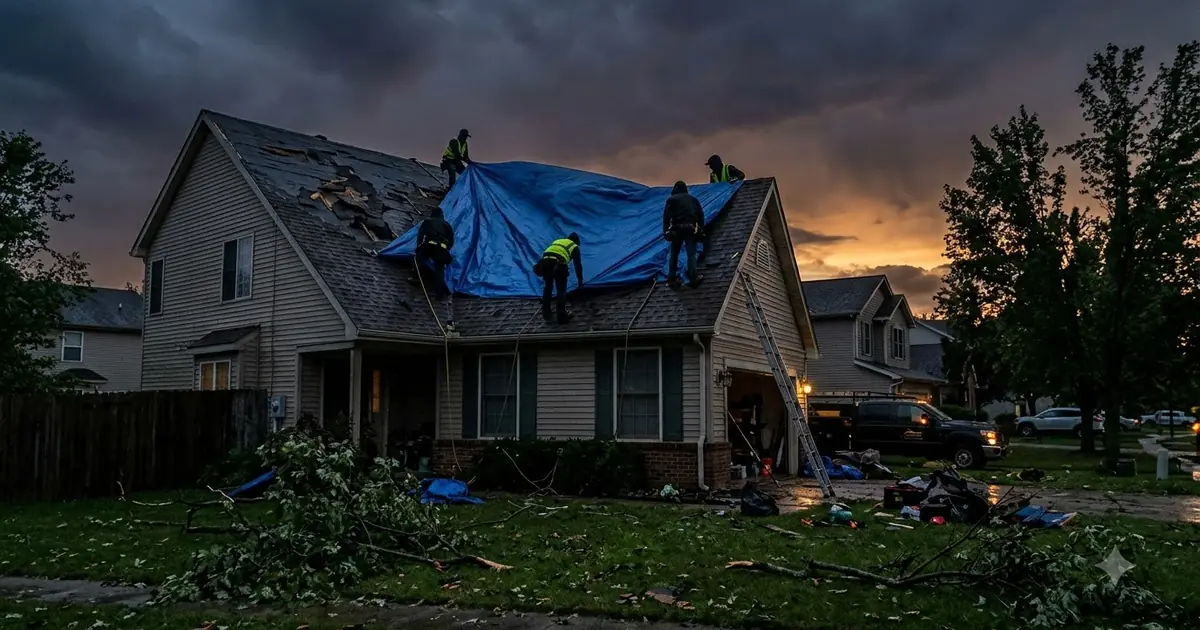
A storm can strip shingles, tear flashing, crack tiles or drop a tree on your roof. What you do in the first day limits further water damage, protects your insurance claim and keeps you safe. This guide covers emergency roof repair and storm damage roof repair in the order you should do things.
Figure 1: A five-stage plan for the first 24 hours after storm damage to your roof.
Figure 2: Decide between leaving the area, calling an emergency roofer now, and scheduling an inspection.
Tick everything that applies.
A storm-damaged roof can be slippery, weakened or electrically hazardous. Inspect from the ground and leave roof work to trained, insured roofers.
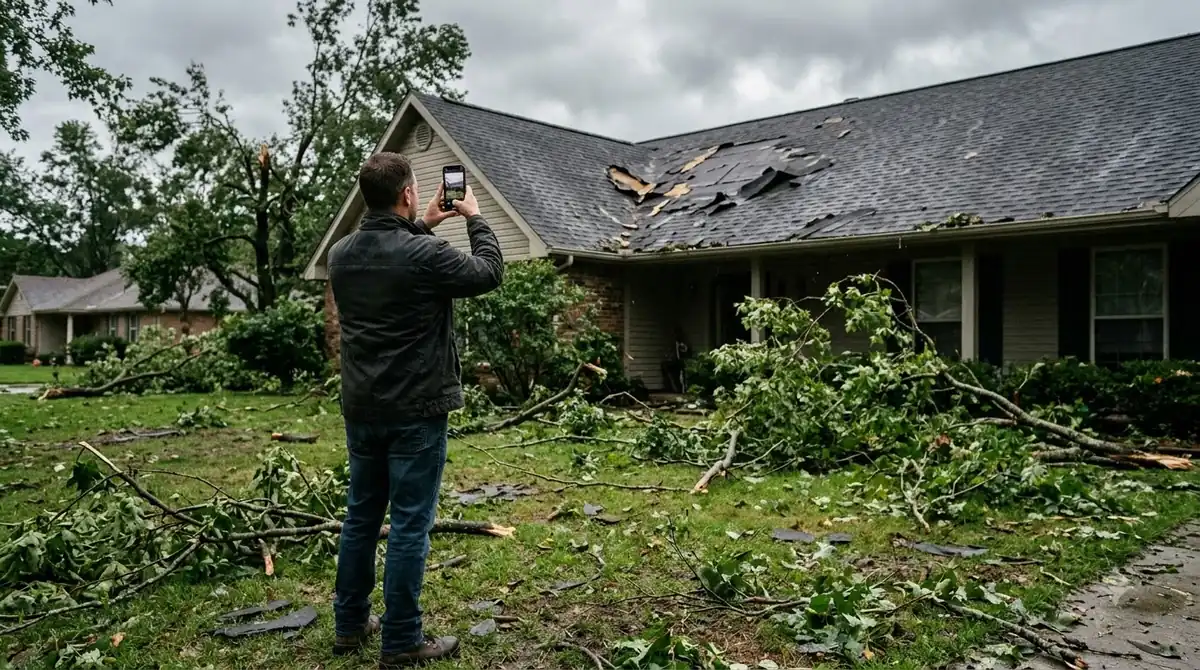
Figure 3: Six common storm damage spots you can often see from the ground.
Insurance companies want evidence of the damage and when it happened. Take wide shots and close-ups of the roof, gutters, siding, fallen branches and any interior water damage. Add dated video if possible, and write down a short timeline of the storm.
Contact your insurance company as soon as it is safe. Get a claim number, ask what temporary repairs they require and what they will pay for. Homeowners policies usually cover sudden storm damage from covered causes and reasonable temporary repairs, while age-related wear is usually excluded and flood is often a separate policy. Check your own policy.
At the same time, call a licensed emergency roofer to tarp or board up the roof. Do not wait for the adjuster before protecting the home; leaving a hole open can lead to denied claims for secondary water damage.
Emergency protection is fine and expected. Wait for your insurer's go-ahead before committing to major repairs or a full replacement.
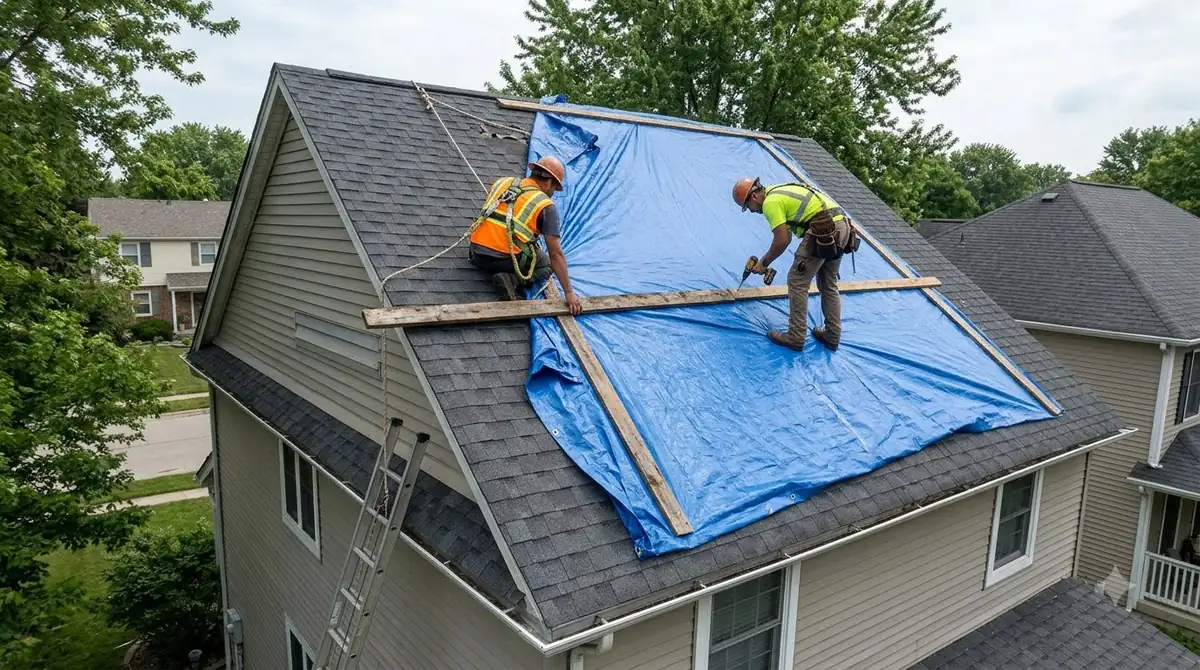
Figure 4: A tarp runs over the ridge and is anchored with wood strips to cover the damaged area.

Figure 5: Typical emergency tarping costs. These are planning estimates from contractor price guides, not quotes.
| Item | Typical cost (USD) | Notes |
|---|---|---|
| DIY tarp materials | $30 - $200 | Tarp, wood strips, fasteners; does not include your safety risk |
| Professional tarping (typical) | $300 - $700 | Single-storey, normal access |
| Professional tarping (full range) | $150 - $3,300 | Varies with roof size, access, debris and after-hours service |
| National average (tarping) | About $450 | Many sources cite this average |
| Surge after widespread storms | +25% to +50% | Demand and availability push prices up |
| Permanent repair | Varies widely | Depends on damage; get written estimates |
Cost data comes mostly from contractor and price-guide sites and varies by region. Ask for a written, itemised quote and check what your insurance will cover.
Storms attract storm chasers: out-of-area contractors who go door to door. Some do good work, but many do not stay to honour warranties. Vet any emergency roofer before you sign.
| Check | What to look for |
|---|---|
| Licence and insurance | Verify with your state or local licensing board; ask for proof of liability and workers' compensation insurance. |
| Local presence | A local address, phone number and reviews, not just a truck and a flyer. |
| Written estimate | Itemised scope, materials, price, timeline and warranty. |
| Payment terms | Avoid large upfront cash payments; pay in stages tied to progress. |
| Insurance claims | Be wary of anyone offering to waive your deductible or asking you to sign over your claim. |
| No pressure | A good roofer lets you read, compare and call your insurer first. |
Compare local, licensed roofers, check reviews and ask for written quotes. Have your photos and claim number ready when you call.
Find Local Roofers| When | Do this |
|---|---|
| 0-1 hours | Get safe; avoid lines, gas and sagging ceilings |
| 1-3 hours | Photograph and video the damage |
| 3-6 hours | Call your insurer and an emergency roofer |
| 6-12 hours | Tarp the roof; limit water inside |
| 12-24 hours | Vet roofers; keep receipts |
This guide is general information, not insurance, legal or professional roofing advice. Cost figures are planning estimates. Check your policy and local rules, and prioritise safety.
Put safety first: stay away from downed power lines and leave the building if there is a gas smell, a sagging ceiling or structural damage. Once it is safe, photograph the damage from the ground, call your insurance company, and arrange emergency roof protection such as a tarp to stop water getting in.
Costs vary widely with the damage and urgency. Emergency tarping commonly ranges from roughly $300 to $700 for a typical job, with a national average near $450 and a wider range of about $150 to $3,300 depending on roof size, access and after-hours service. Permanent repairs cost more. Prices can rise after widespread storms, so get written estimates.
Homeowners policies usually cover sudden storm damage from covered causes such as wind, hail or a fallen tree, and typically cover reasonable temporary repairs to prevent further damage. Normal wear and age are usually excluded, and flood damage is often separate. Read your policy, report the claim promptly, photograph damage before repairs and keep every receipt.
Do both quickly. Call your insurer to open the claim and ask about temporary repair requirements, and call a licensed emergency roofer to tarp or board up the roof. Document the damage before anything is moved or covered.
A tarp can be a DIY job on a low, safe roof in dry, calm conditions, but climbing a wet or damaged roof is dangerous. If the roof is steep, wet, high or structurally damaged, hire a professional. Never go on a roof during high winds or lightning.
A tarp is a short-term fix, not a repair. Arrange permanent repairs as soon as your claim and contractor schedule allow, because tarps degrade in sun and wind and can come loose. Check the tarp after every storm.
Look for missing, cracked or curled shingles, exposed decking, lifted or bent flashing, dented vents, granules in gutters, sagging areas, fallen branches and water stains on ceilings or in the attic. Many signs can be spotted from the ground with binoculars or a phone zoom.
No. Inspect from the ground, from windows or the attic. A wet or damaged roof is slippery and can give way. Let an insured, licensed roofer inspect from the roof.
Use a local directory, ask neighbours and check licences, insurance and recent reviews. Ask for a written estimate, proof of insurance and local references, and compare at least two quotes if time allows. Be cautious of anyone who knocks on your door right after the storm.
Warning signs include door-to-door offers, out-of-state plates with no local address, pressure to sign immediately, large upfront cash payments, offers to waive your deductible and requests to sign over your insurance claim. Verify licences with your state or local board before signing anything.
Move belongings away, place buckets or tubs under drips and protect floors with plastic. Switch off power to affected areas if it is safe, and stay out of rooms with a bulging or sagging ceiling. Call an emergency roofer and your insurer, and wait for safe conditions before roof work.
Gather dated photos and video of the damage, a description of what happened and when, your policy number, receipts for temporary repairs, repair estimates and contractor details. Keep a log of calls with your insurer.