Which metal roofing cutter to use, how to cut corrugated panels cleanly without damaging the coating, the safety gear you need, and a panel length calculator.
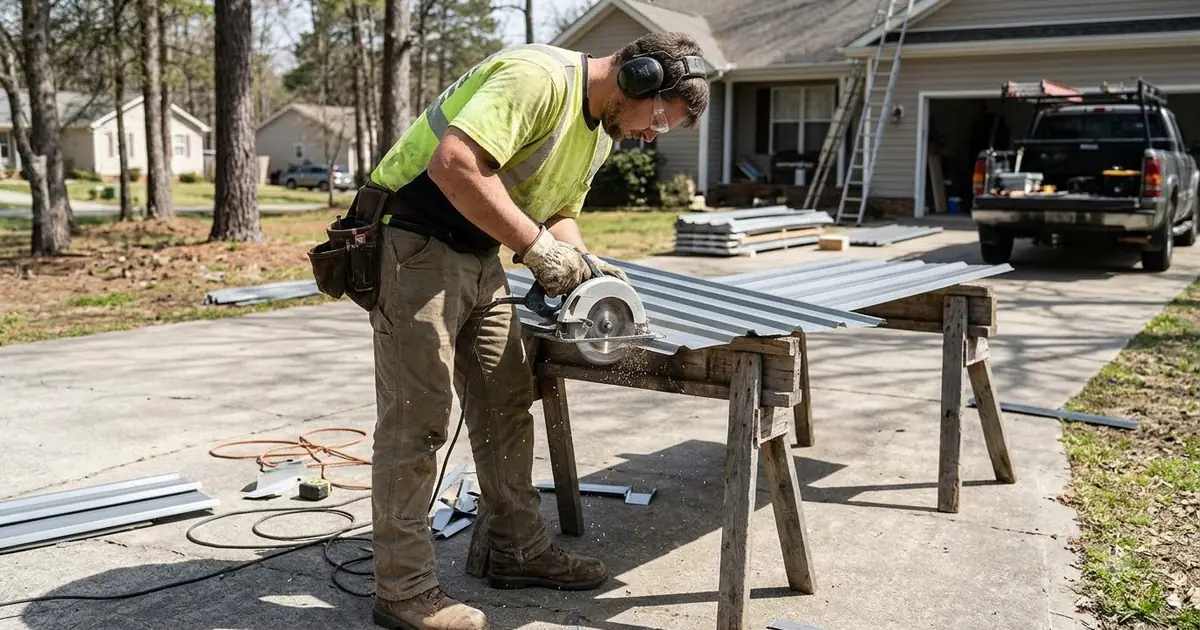
To cut corrugated metal roofing, measure and mark the line, support the panel on both sides of the cut, and cut with electric metal shears or a nibbler, a circular saw with a metal-cutting blade, aviation snips for short trims or a jigsaw for curves. Avoid abrasive grinder wheels, which burn the coating. Wear safety glasses, hearing protection, cut-resistant gloves and sturdy boots, then deburr, clean off filings and touch up the edge to prevent rust.
Corrugated metal roofing is made of thin, wavy steel or aluminum panels, often with a galvanized, Galvalume or painted coating. That coating is what stops rust, so the goal of every cut is a clean edge without heat, scratches or leftover filings. If you are still choosing a roofing material, see our metal roofing materials and systems guide.
A metal roofing cutter can be a handheld hand tool or a power tool. The right pick depends on the number of cuts, panel thickness and your experience.
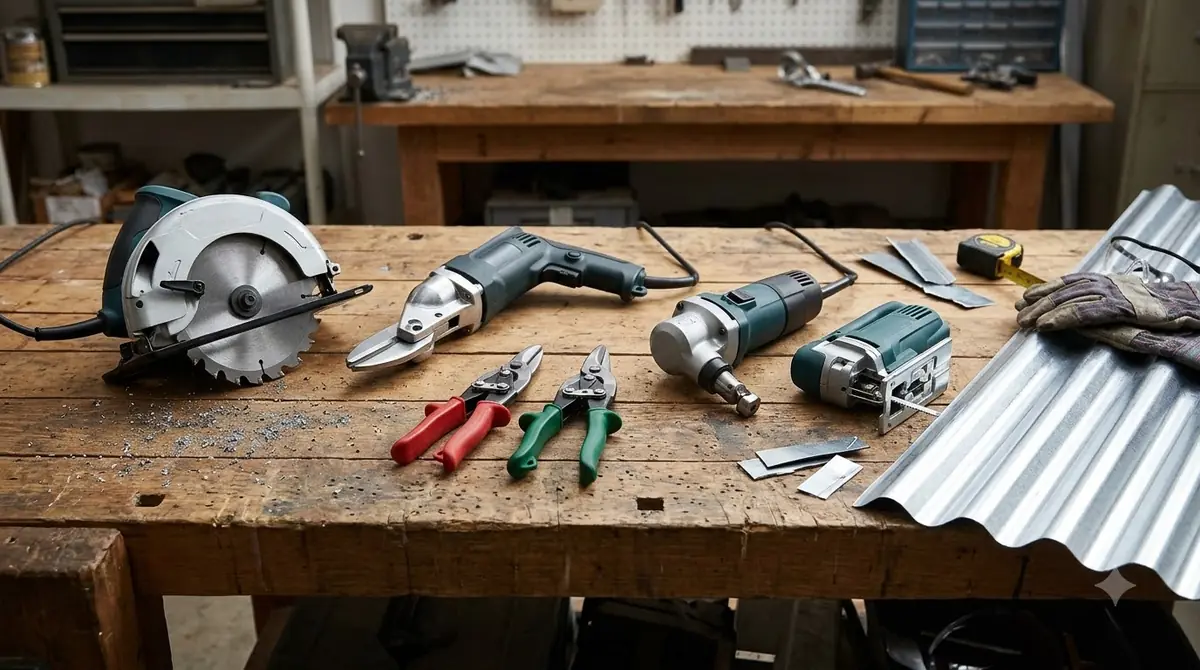
Figure 1: General comparison of cutting tools. Abrasive wheels are rated poorly because the heat damages the coating.
| Tool | Best for | Pros | Cons |
|---|---|---|---|
| Electric shears / nibbler | Long straight cuts, curves, many cuts | Cold cut, clean edge, little distortion | Cost; nibbler chips are sharp |
| Circular saw (metal blade) | Many crosswise or lengthwise cuts | Fast and straight with a guide | Noise, sparks and metal debris; needs the right blade |
| Aviation snips | Short cuts, trims, thin panels | Cheap, quiet, precise | Slow and tiring on long cuts; can distort |
| Jigsaw (bi-metal blade) | Curves, cutouts, vents | Flexible for shapes | Slow; blade can vibrate and bend the sheet |
| Angle grinder (abrasive) | Not recommended | Fast | Burns coating, throws hot sparks, risks rust and warranty |
Abrasive wheels heat the metal and throw hot particles that can stick to the panel and rust. Many panel makers advise against them. Check your manufacturer's cutting instructions.
Hand snips come in colour-coded heads: yellow for straight cuts, red for left curves and green for right curves.
Cut metal edges are razor sharp, and sparks and slivers can fly. Safety gear and a clean workspace matter more than the tool you pick.
Safety glasses or goggles for every cut, plus hearing protection when using a saw.
Cut-resistant gloves, long sleeves and long pants. Handle panels by the ridges, not the cut edge.
Sturdy boots with good grip. Never cut or carry panels on a wet or windy day; sheets catch the wind.
Use a GFCI-protected cord and keep sparks away from dry material. Unplug before changing blades.
Use fall protection and a stable ladder when you must work at height, and follow local safety rules. If you are not confident on a roof, hire a licensed roofer.
Figure 2: Panel cut length is the slope length plus the overhang at the eave.
Measure the roof's horizontal run (eave to ridge) and pitch, then add the eave overhang so water drops into the gutter. Mark with a permanent marker or soft pencil and a straightedge. Check the manufacturer's overhang and ridge instructions.
Pitch is the rise per 12 inches of run, for example 6 for a 6/12 roof.
Coverage width varies by product, so check yours. Order slightly extra for waste and mistakes, and confirm manufacturer lap and ridge details.
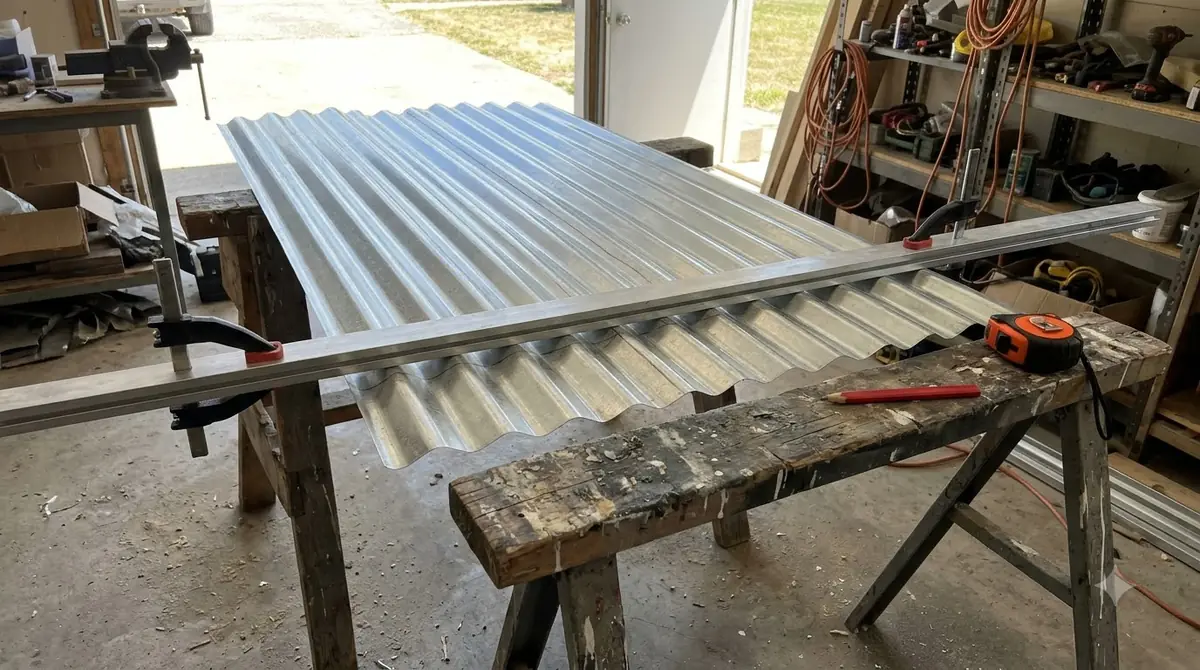
Figure 3: Support beams on both sides of the cut and a clamped guide keep the panel flat.
Pick your cutter, a tape measure, marker, straightedge, clamps, file or deburring tool, brush, touch-up paint and all safety gear.
Measure twice, mark the cut across the panel and extend the line across ridges and valleys with a straightedge.
Lay the panel on sawhorses or foam board, with beams close to the cut on both sides. Clamp the panel and a straightedge guide so nothing shifts.
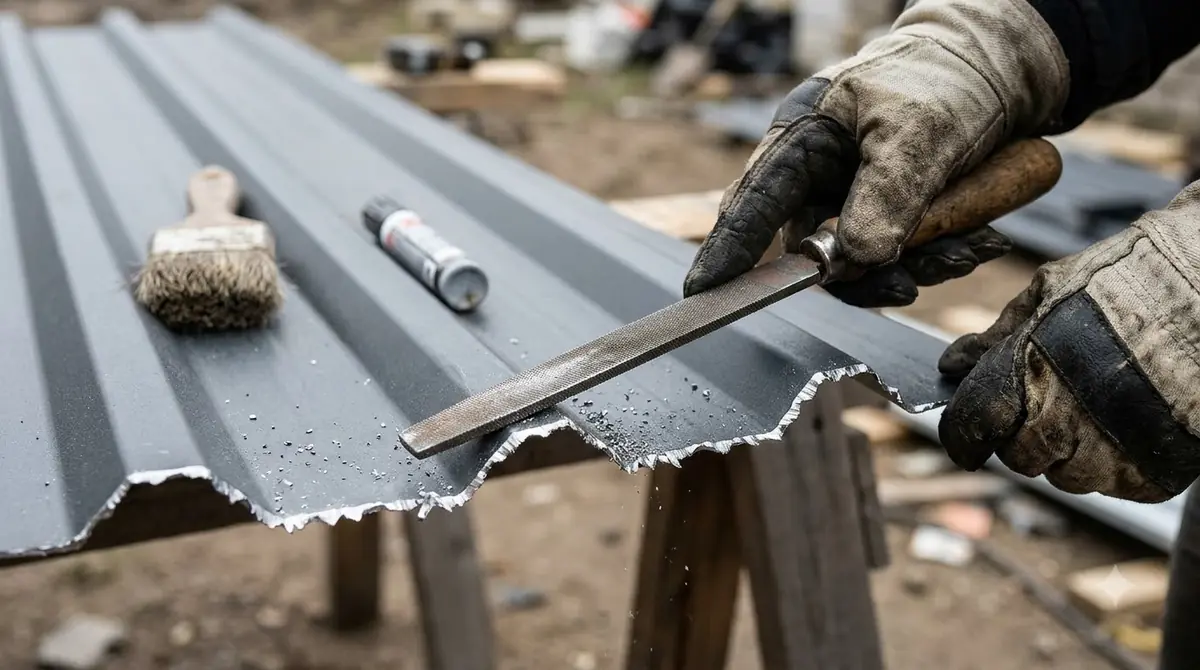
Smooth the cut edge with a file or deburring tool and brush or wipe off all metal filings.
Seal or touch up the cut edge, then dry-fit the panel before fastening.
Figure 4: Cut along a valley for lengthwise cuts to keep the edge flat.
| Job | Technique |
|---|---|
| Crosswise cut to length | Mark, support both sides, cut across ridges with shears or a saw at a steady pace. |
| Lengthwise (rip) cut | Cut along a valley using a clamped guide; shears or a saw work best. |
| Curved cut or cutout | Drill a pilot hole, then use a nibbler or jigsaw. |
| Around pipes and vents | Use a template, drill a pilot hole, cut the opening and seal with a pipe boot or flashing. |
| Valleys and hips | Mark the angle with a cardboard template, cut carefully and cover with trim flashing. |
| Step | Do this |
|---|---|
| Tool | Shears, nibbler, metal-blade saw, snips or jigsaw (no abrasive wheel) |
| Setup | Support both sides and clamp a guide |
| Safety | Glasses, ear protection, gloves, boots, fall protection |
| Finish | Deburr, clear filings, touch up the edge |
Cutting and finishing instructions differ by panel type and coating, and may affect your warranty. Follow your panel maker's guidance. This guide is general information, not professional advice.
Measure and mark the cut line, support the panel fully on both sides of the cut, then cut with electric metal shears, a circular saw with a metal-cutting blade, aviation snips for short cuts, or a jigsaw with a metal blade for curves. Wear eye, ear and hand protection, then deburr the edge, clear all metal filings and touch up the edge.
Electric metal shears or a nibbler give clean cuts with little heat and are widely recommended for long cuts, while a circular saw with a carbide-tipped metal-cutting blade is fast for many cuts. Aviation snips are best for short trims and small jobs. The best choice depends on panel thickness, number of cuts and your experience.
Yes, if you use a blade made for cutting metal, such as a carbide-tipped blade for ferrous metals or a blade rated for thin steel and aluminum. Support the panel well, clamp a guide, feed slowly and wear eye and hearing protection. Do not use a wood blade or an abrasive cut-off wheel.
It is generally not recommended. Abrasive wheels create heat and hot sparks that can burn the protective coating, leave rust-causing particles on the panel and may void the manufacturer's warranty. Use shears, a nibbler or a metal-cutting saw blade instead.
A metal roofing cutter is any tool designed to cut roofing panels, including electric shears, nibblers, power snips and circular saws fitted with metal-cutting blades. Choose one that cuts cold and leaves a clean edge to protect the panel finish.
Yes, for short cuts, trims and thin panels. Aviation snips with straight, left or right cutting heads work well, but long cuts are tiring and can distort the corrugations. For longer cuts, shears or a saw are faster and cleaner.
Cut on the ground whenever possible. A stable bench or sawhorses make accurate, safer cuts and keep filings off the installed roof. Only make final trim cuts on the roof with proper fall protection and sturdy footing.
It depends on the tool and the manufacturer's instructions. As a general rule protect the painted face from scratches and filings, and follow the panel maker's guidance. Test on an offcut if you are unsure.
Support the panel on both sides of the cut, keep the sheet flat, use a clamped straightedge or guide, and let the tool do the work with a steady slow feed. Avoid cutting an unsupported overhang, which vibrates and bends.
Deburr the edge, remove all metal filings and dust with a brush or magnet, and touch up the edge with a compatible paint or sealant. Galvanized and Galvalume coatings give some protection, but exposed bare steel edges still benefit from touch-up.
Wear safety glasses or goggles, hearing protection for saws, cut-resistant gloves, long sleeves and sturdy boots. Cut edges are razor sharp and metal slivers can fly. Use fall protection when working on the roof and avoid cutting in wet or windy weather.
Mark the opening using a template, drill a pilot hole, then cut the opening with a jigsaw, nibbler or snips. Use proper flashing or a pipe boot to seal around the opening, because the cut edge alone is not weatherproof.